How to add an image to an existing page
Adding an image within a content block on an existing page of your website is easy. Most of the work you'll need to do with your website happens right on the page you want to edit.
Step 1
Sign in to the Content Management System (CMS) by clicking the Sign In link in the bottom right of your website. When you have securely logged in, your site is aware of who you are and what you have access to edit and create.
Step 2
Go to the page where you want to add an image, just as you normally would.
To start making changes to a page, click Edit in the editing tool bar located in the top left of the page. The page edit dropdown will open, select Edit this Page.
Notice that edit changed to editing and turned green in the tool bar. Your site is now in edit mode.
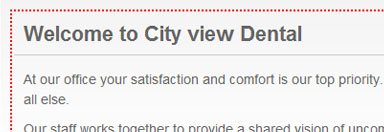
The page will reload with all of the areas you can edit highlighted in dotted red borders. In addition, any editable regions will highlight grey when you hover your mouse over the area.
Step 3
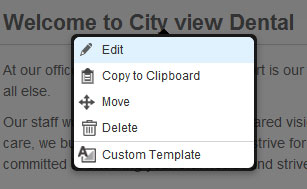
To get started, simply hover over an editable region and press your mouse button. This will bring up a list of options. Select Edit and the editing interface will open. From here you can add your image using tools that are very similar to those used in your favorite word processor.
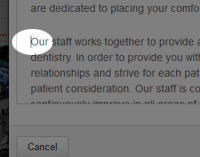
Place your cursor in the content where you would like to add the new image.
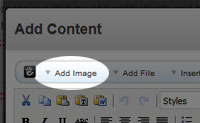
To add your new image click Add Image located in the top left corner of the content editing interface. This will open the File Manager. From the file manager we can upload a new image and quickly resize and crop the image.

To upload your new image click the Browse button. This will open a new file upload window, locate the new image on your computer and click Open. The window will close, returning you to the file manager. Next click the Upload File button (not the Upload Multiple). A new window will open confirming the upload. Click the green Continue button. Your image is uploaded and should now be showing in the file manager.
Step 4
Now we can look at the options to crop and resize our new image.
Please note: If you are comfortable with any image editing software you may crop and resize your images before uploading.
Click anywhere in the new row created by the image you just added in the file manager. This will bring up a list of options, select Edit and a new window will open.
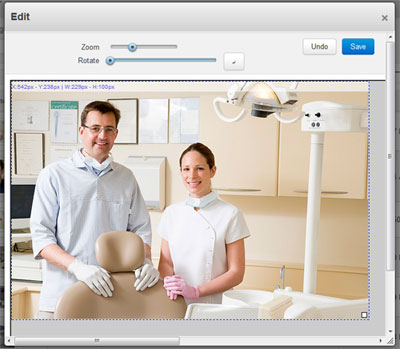
The edit window gives you a few very basic tools you can use to crop, resize and rotate your image.
- 1. Zoom - This slider can be used to adjust the size of the image.
- 2. Rotate - The slider allows you to rotate the image 360°. The button to the right of the slider rotates the image in 90° increments.
- 3. Width and height info - Indicates the width and height of the crop area. This can be used if you are trying to crop an image to a specific size.
- 4. Crop box - The dotted blue border that surrounds the image indicates where the image will be cropped. Using the white box in the bottom right of the image, you can drag to resize the crop box.
- 5. Undo - The undo button reverts to the last saved version of the image.
- 6. Save - Saves your changes and closes the edit window.
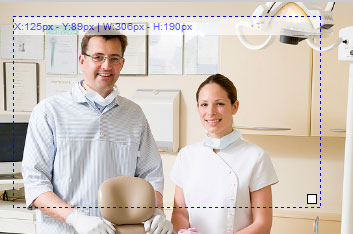
Now lets use these tools to resize and crop the new image. Use the zoom slider to adjust the size of the image. As you change the size you may notice that the image no longer matches up with the crop box.
To resize the crop box, hover your mouse over the white box in the bottom right corner. Your mouse pointer will change to a diagonal line with an arrow at each end to indicate you are using the resize tool. If your mouse is hovering over the crop box (the dotted border) it will change to an x with arrows. This tool is used to move the crop box.
Use the move tool and zoom tool together to achieve the desired results.
Click save, the window will close, returning you to the file manager. You have successfully cropped and resized your image.
Step 5
Now the new picture has been uploaded, cropped and resized. Lets add it to the page. Click anywhere on the new image's row in the file manager. This will bring up a list of options, select Choose and the file manager will close and the image will be added to the content.
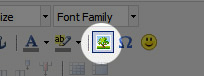
Your new image has been inserted into the content but we're not quite done. It still needs a bit of formatting. Select the image by clicking on it. Next click the Image Edit button. This will open a new window. Click the Appearance tab to access the image formatting options.
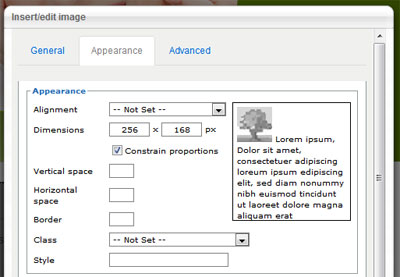
This window offers options to control the alignment of the image, the space above and below the image, and the space to the right and left of the image. You can also add a border or select a class that will apply styles defined by your sites design template.
The box to the right of the options will give you a preview as you select an alignment option or enter a value into the vertical space, horizontal space or border boxes.
To use the class option that applies pre-defined formatting, use the dropdown menu to select home-page-thumbnail. This will apply a border and drop shadow to the image. You can use the other options in combination with the class. For example, you can select Right from the alignment dropdown, enter 10 in the Horizontal space box, and select the home-page-thumbnail class. This will result in the image being right aligned, with 10 pixels of space on either side, with the pre-defined border and drop shadow
When you are happy with your edits, click the green Update button at the bottom of the window.
Please note: You may need to scroll down to see the green Update button.
Step 4
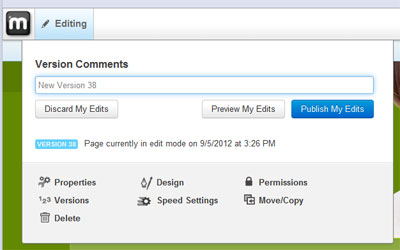
The final step to adding an image is to publish your changes and make them visible to your visitors. To do this, click on the green Editing button in the top left of your screen. The Editing menu will open with three options.
- 1. Discard My Edits - Throw away all the changes you just made and revert to the last published version.
- 2. Preview My Edits - Save these edits as a new version, but do not publish. When logged in you will see this most recent version, but regular site visitors will only see the last published version.
- 3. Publish My Edits - Save your edits, and make them live for all visitors to see.
Once you are happy with your changes, click Publish My Edits and you're done!